
Learn more about how Trevisan’s Horizontal Machining Centers can help you minimize set up time and labor costs.

Why Use Construction Adhesive?

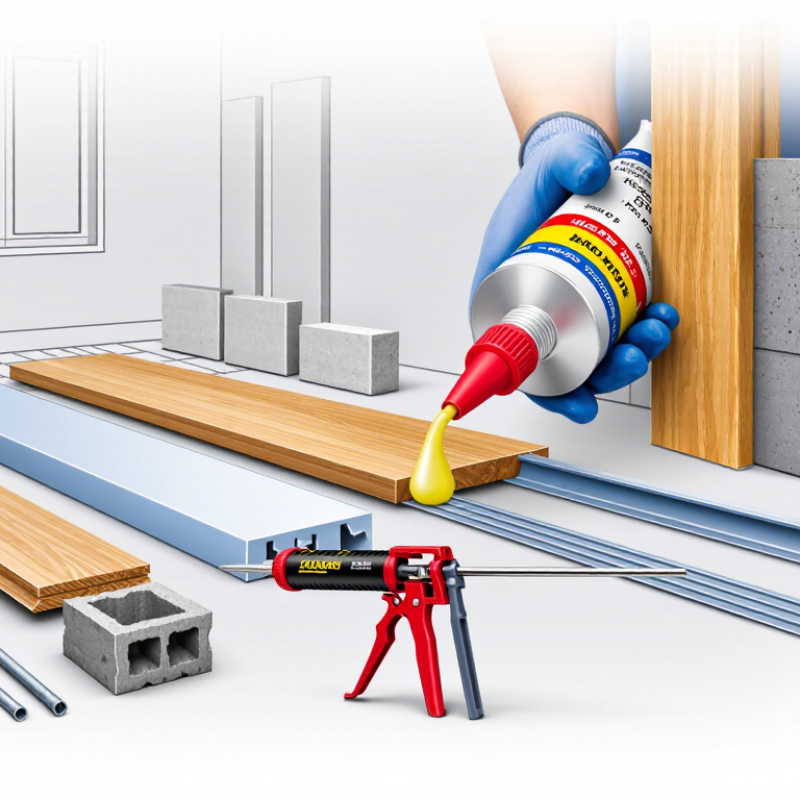
Construction Adhesive can create a strong bond between building materials without relying on screws or nails alone. It is commonly used for trim, panels, flooring, and other components where a clean finish matters. A bead behind a wall panel, for example, can help reduce movement and rattling. That small detail can make a room feel more solid.

The right adhesive depends on the materials, surface condition, and job requirements. Wood, concrete, foam, and metal may need different formulations, so check the product label before applying it. Surfaces should generally be clean, dry, and free of loose dust. A dusty patch can weaken the bond, even when the bead looks generous. Not always obvious.

Adhesive can also help distribute contact across a joint, but it does not replace proper support in every application. Heavy or safety-critical components may require fasteners or other specified methods. Follow the manufacturer’s instructions for bead size, temperature, ventilation, and curing time. Pressing two pieces together and expecting an instant hold is a common mistake. Some products need temporary bracing while they cure.

This guide explains where Construction Adhesive is useful, how to choose an appropriate type, and what application details affect performance. The product is helpful, but not magic. Checking compatibility and allowing enough cure time are simple steps that protect the finished work.
Why Use Construction Adhesive?

What Construction Adhesive Is and How It Works

Construction adhesive is a paste-like bonding material used to join building surfaces such as wood, drywall, concrete, and some metals. Formulas vary, so an adhesive suitable for trim may not be rated for a heavy panel or a damp area. Check the product label for compatible materials and intended use.

It works by forming contact with both surfaces and then hardening as it cures. A bead pressed between a clean, dry board and a wall fills small gaps and spreads the bond across the joint. Some formulations cure through moisture exposure; others rely on different chemical processes. The exact curing time depends on the product, temperature, airflow, and materials. It takes patience.

For example, when attaching a wood threshold, remove dust and loose paint before applying the adhesive. Press the pieces together as directed, and support them if the instructions call for it. A firm squeeze does not guarantee an instant bond. The adhesive may feel set while still curing beneath the surface. That waiting period is easy to underestimate. For heavy, overhead, or structural work, use the specified fasteners or support system as well; adhesive alone may not be appropriate. Read the instructions, and test an inconspicuous area when surface compatibility is uncertain.

How It Bonds Common Building Materials

Construction adhesive bonds common building materials by wetting their surfaces, then curing into a load-sharing layer. On wood, adhesive can grip fibers; on concrete, it can enter small pores and surface texture. Metal is less absorbent, so cleanliness and the correct adhesive chemistry matter more. Dust, paint, moisture, or a glossy finish can weaken contact. A bead cannot fix a poorly prepared surface.

Wood also moves as humidity changes. The USDA Forest Products Laboratory’s Wood Handbook (2010) gives an equilibrium moisture content near 12% for wood at 65% relative humidity; species and temperature affect the figure. That movement can stress a rigid bond. Real surfaces vary. Even careful work has surprises, so check the product’s stated material compatibility and cure conditions rather than assuming one formula suits every joint.

Tips: Remove loose dust, grease, and flaking coatings; follow the adhesive’s instructions for bead size and open time. Press materials together firmly, and support them while curing if required. For a small test area, watch for poor contact or unexpected movement. Small checks help. Construction adhesive can complement mechanical fasteners, but it should not replace them where the design or instructions require them.

Why Use Construction Adhesive? — How It Bonds Common Building Materials

Porous surfaces such as wood, concrete, and brick can allow some adhesives to penetrate and form a mechanical bond. Smooth, nonporous surfaces such as steel and glazed ceramic rely more on surface wetting and adhesive formulation. These relative porosity ratings are qualitative, not laboratory measurements or bond-strength ratings. Always check the product instructions and prepare surfaces as directed.

Advantages Over Mechanical Fasteners and Other Adhesives

Construction adhesive can spread a load across a broader area than a screw or nail, which may help reduce stress around a single fastening point. It can also join materials without visible heads or drilled holes.

No drilled holes. On a trim board, for example, adhesive can keep the surface smooth and avoid small dents from hammering. Some formulations remain slightly flexible after curing, helping accommodate minor movement between materials.

The trade-off is time: a bond may need clamps or temporary support while it sets. It is not an instant fix.

Compared with many general-purpose glues, construction adhesives are made for building materials and may fill small gaps or bond porous surfaces. Performance varies by formula and substrate, so check the product directions for material compatibility, cure time, and load limits.

Clean, dry surfaces matter. Dust, paint, or moisture can weaken the bond. A small test area can reveal problems, though it cannot prove a joint is suitable for every load.

For heavy or safety-critical connections, adhesive may need to work alongside mechanical fasteners rather than replace them. That extra step can feel inconvenient, but skipping it is a poor gamble.

Common Construction Uses and Suitable Surfaces

Construction adhesive is useful when a joint needs continuous support, not just a few fixing points. It can help attach subfloor panels, bond trim, and secure selected wall panels to framing. The U.S. Census Bureau estimated U.S. construction spending at about $2.1 trillion in 2023, across residential and nonresidential work. That scale makes substrate choice more than a small detail. A bond that fails on damp concrete or dusty drywall can mean rework.

Suitable surfaces depend on the adhesive formula. Many products are designed for wood, plywood, masonry, concrete, or gypsum board, but no single formula suits every combination. ASTM D3498 addresses field-glued plywood-to-lumber floor systems; it is not a blanket approval for other joints. USDA Forest Products Laboratory’s Wood Handbook places wood’s fiber saturation point near 30% moisture content. Wood can shrink as it dries, stressing a rigid bond. Not every surface.

Before applying adhesive, check the label’s approved materials and preparation steps. Surfaces should generally be sound and free of dust, oil, loose paint, and standing water. Smooth metal or sealed surfaces may need a different product or surface preparation than porous timber. Test a small area when compatibility is uncertain. Adhesive also needs the specified bead size, open time, and curing conditions; rushing those steps is an easy mistake. For overhead or structural loads, use only a system rated for that application, and add mechanical fasteners where the design calls for them.

Factors to Consider When Choosing and Applying It

Choosing construction adhesive starts with the materials and the job. Concrete, wood, metal, and painted drywall do not bond the same way. Check the product’s technical data for compatible surfaces, load limits, open time, and curing conditions. A bead that works for trim may not suit a heavy panel overhead. Small gaps count.

Moisture matters, especially with wood. The USDA Forest Products Laboratory’s 2021 Wood Handbook (FPL-GTR-282) describes wood bonding as sensitive to moisture content and notes a typical 6–14% range for many bonding situations. Measure rather than guess when the fit is critical. Dust, oil, and loose paint can weaken contact, so clean and dry the surfaces first. I would also test an inconspicuous area; surface coatings can behave unexpectedly.

Apply the bead in the pattern and thickness specified by the manufacturer, then press the pieces together within the stated open time. Support or clamp them if needed while the adhesive cures. Temperature can slow curing, and a dry-looking bead may still be soft inside. Ventilate the work area and follow the safety information on the product label. Check the assembly’s relevant performance standard, such as ASTM D3498 for field-glued plywood-to-framing applications; one standard does not cover every installation.

Scroll to Top
Scroll to Top